

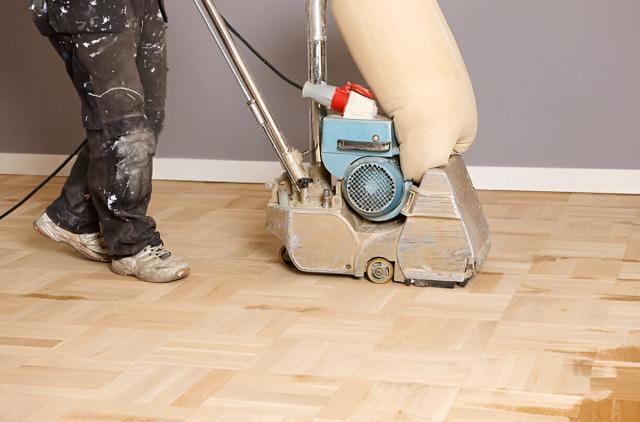
Sanding is a crucial step to achieving a beautiful wood floor. But have you ever sanded your wood with the aim of a flawless finish, only to meet unsightly scratches and unevenness on the floor? These flaws can be difficult to cope with, but not anymore.
In this blog, we will look at numerous factors that lead to these pesky marks and unevenness appearing on the floor. Then, we will present a step-by-step guide to fix uneven sanding and erase marks so that you can end up with a smooth, fresh surface that will last for many years.
Factors Affecting Uneven Sanding and Marks
Even if you think you've sanded your hardwood floor the way it should be, it's likely that you may still encounter uneven patches or rough spots. So let's first start by discussing the factors that can lead to unevenness or marks on your hardwood while you sand it.
- Using the right sandpaper is a must to get an even surface. If you use sandpaper that's too coarse, it can leave deep scratches on the wood, while overly fine grit may fail to remove enough material, leading to an uneven surface.
- If you apply too much pressure with the sander in one particular spot, it can dig into the wood and create unevenness. Likewise, if you do not follow a proper sanding pattern, (like straight back and forth strokes) it can leave behind swirl marks.
- In order to ensure thorough and effective sanding, it's important to start with a clean floor. If you sand a wood that is covered with debris like dirt, you are bound to create unsightly scratches.
- Also, it's important to handle the sander properly. A sander that's not rightly balanced can wobble or vibrate, leading to uneven sanding and scratches.
The Five Steps To Fixing Uneven Sanding And Marks
Step 1: Gather Your Materials
So, first of all, get your tools ready so that you can avoid maximum interruptions while working on your wood. The list includes the following items:
- Sanding block
- Sandpaper (different grits - 100, 120, 150, and possibly 220 grit)
- Vacuum cleaner or broom
- Mineral spirits (optional, for cleaning)
- Good lighting
Step 2: Assess The Floor
After gathering your tools, inspect your floor. The level of unevenness will determine the grit of sandpaper you need. In other words, knowing what you're dealing with beforehand allows you to plan a more efficient and effective sanding process.
Step 3: Initiate Sanding The Wood
As you've assessed the wood, it's time to fix uneven sanding and erase marks subsequently. If the unevenness is minor, you can use a sanding block with 100-grit sandpaper. Apply gentle, even pressure and sand in the direction of the grain. Check your progress regularly and stop sanding when the unevenness is gone.
If the unevenness is moderate, you might need to use an orbital sander with 120-grit sandpaper. Apply firm (but not too much) pressure and sand in the direction of the grain. Check time and again to ensure you're removing the uneven areas without creating new ones.
Step 4: Wipe Out The Marks
Examine the floor again and look for visible marks. Use a sanding block with finer grit sandpaper (around 80 grit). Sand lightly and often in the direction of the grain, focusing on the affected areas.
After the initial scratch marks have been removed, refinish the area with higher grits of sandpaper (around 100) and follow the same pattern for 120, 150, and 220 as well.
Step 5: Clean The Floor
Sanding dust and debris act like tiny bumps on the surface and can interfere when you stain the wood floor or apply a sealer and finish. A clean floor ensures these layers go on smoothly so that you can get a flawless hardwood floor. Hence, grab your vacuum cleaner or a broom and clean the floor properly to ensure an even surface free of dust and residue.
Don't miss: The Importance Of Professional Carpet Cleaning In High-Traffic Areas
Some Final Say!
Uneven sanding or marks can ruin your beautiful hardwood floors. However, with the right sanding and cleaning techniques, you can effectively fix uneven sanding and erase marks to achieve a smooth, pristine finish.
However, if you ever fall short of your desired results, you can always turn to Floor Sanding Company for further help. They specialize in professional uneven floor sanding and mark removal, using state-of-the-art equipment and techniques to restore your floors to their original glory.